Free Trial
Web API version
Licensing
Request A Quote
HAVE QUESTIONS OR NEED HELP? SUBMIT THE SUPPORT REQUEST FORM or write email to SUPPORT@BYTESCOUT.COM
Generate Barcode and Save to Dropbox | Zapier


Tutorial.txt:
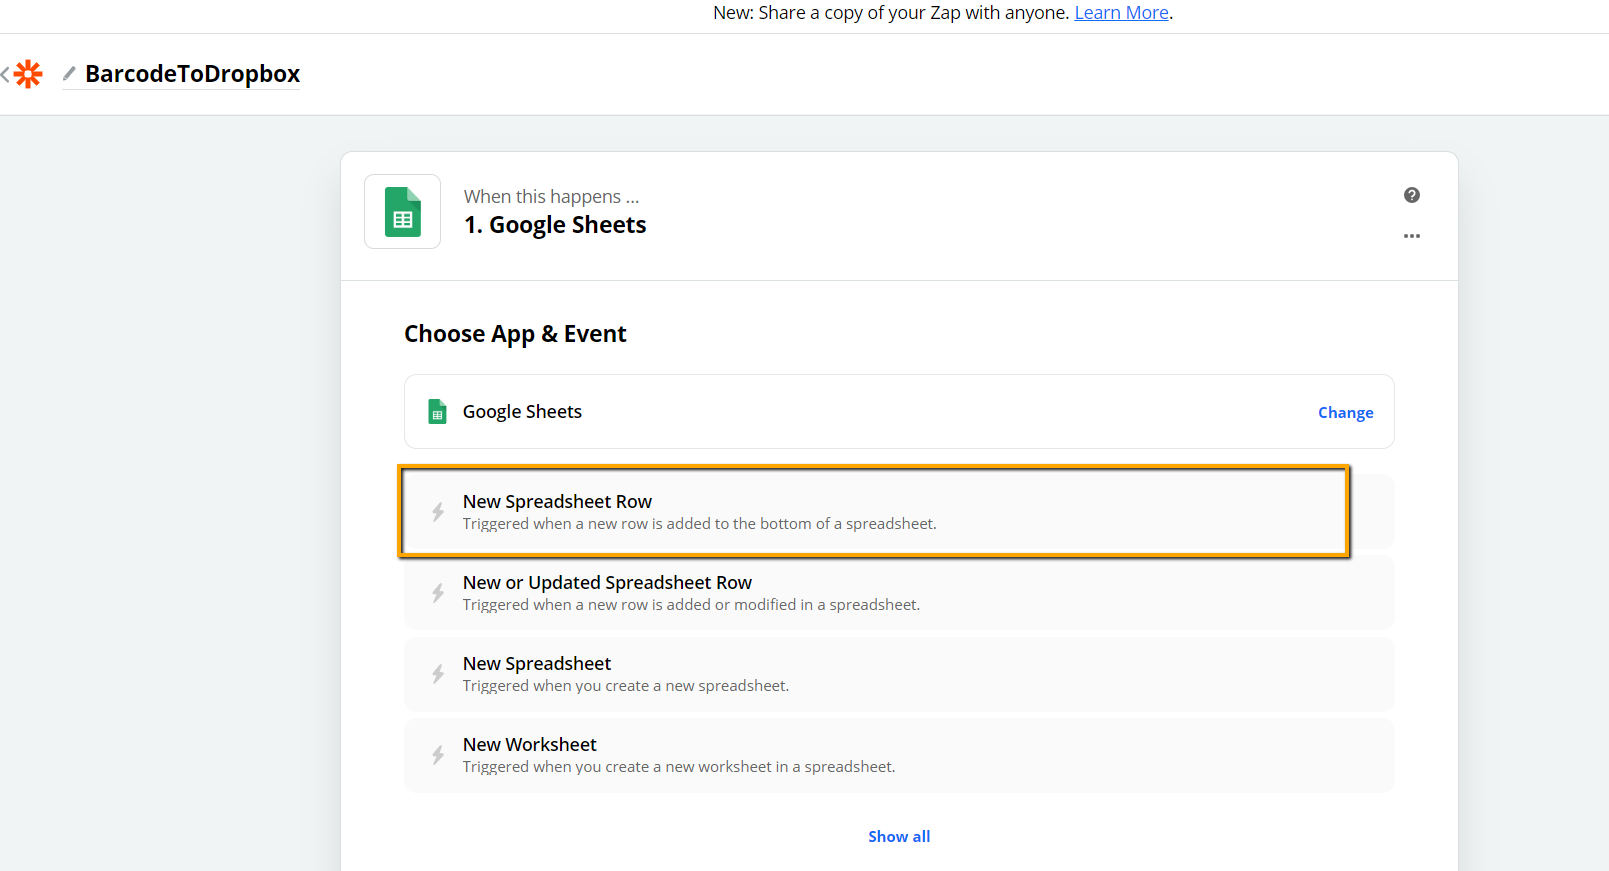
1. To begin with creating zap which generates barcode and stores to Dropbox, let's create new zap and have "Google Sheet" as input. We'll have "New Spreadsheet Row" as trigger.
[Screenshot_1.png]
2. Here's what input spreadsheet looks like. Specify trigger on new row added to worksheet. End goal is to have QRCode generated for each added new row by utilizing Invoice No field.
[Screenshot_2.png]
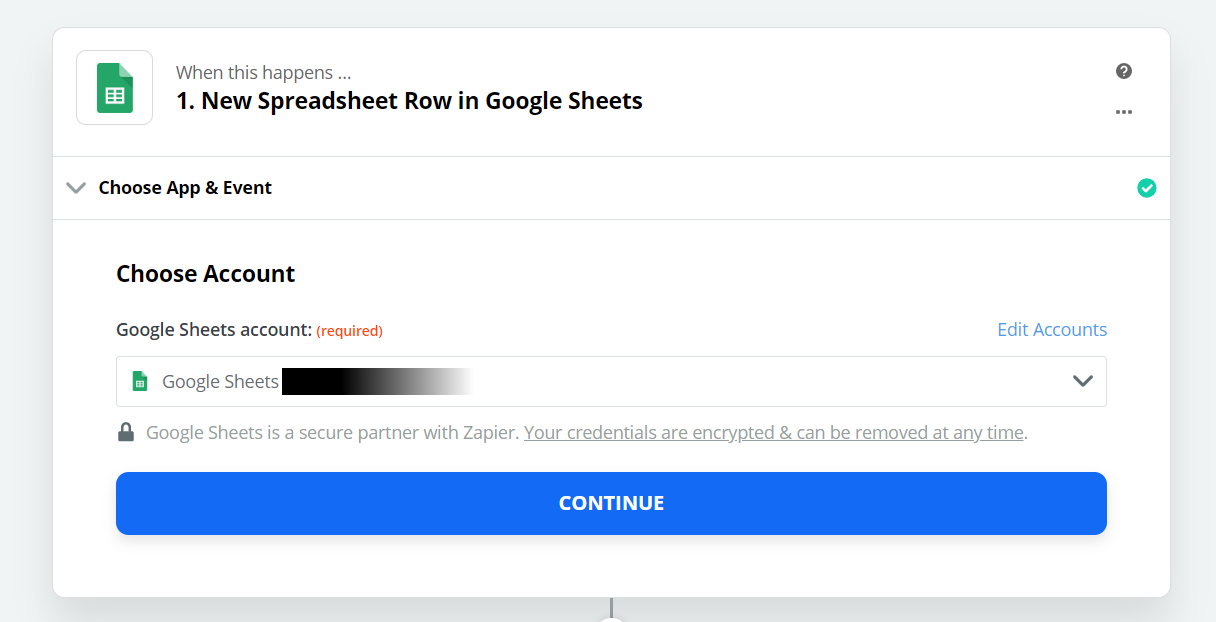
3. Once App & Event are specified, need to specify "Google Sheets account:".
[Screenshot_3.png]
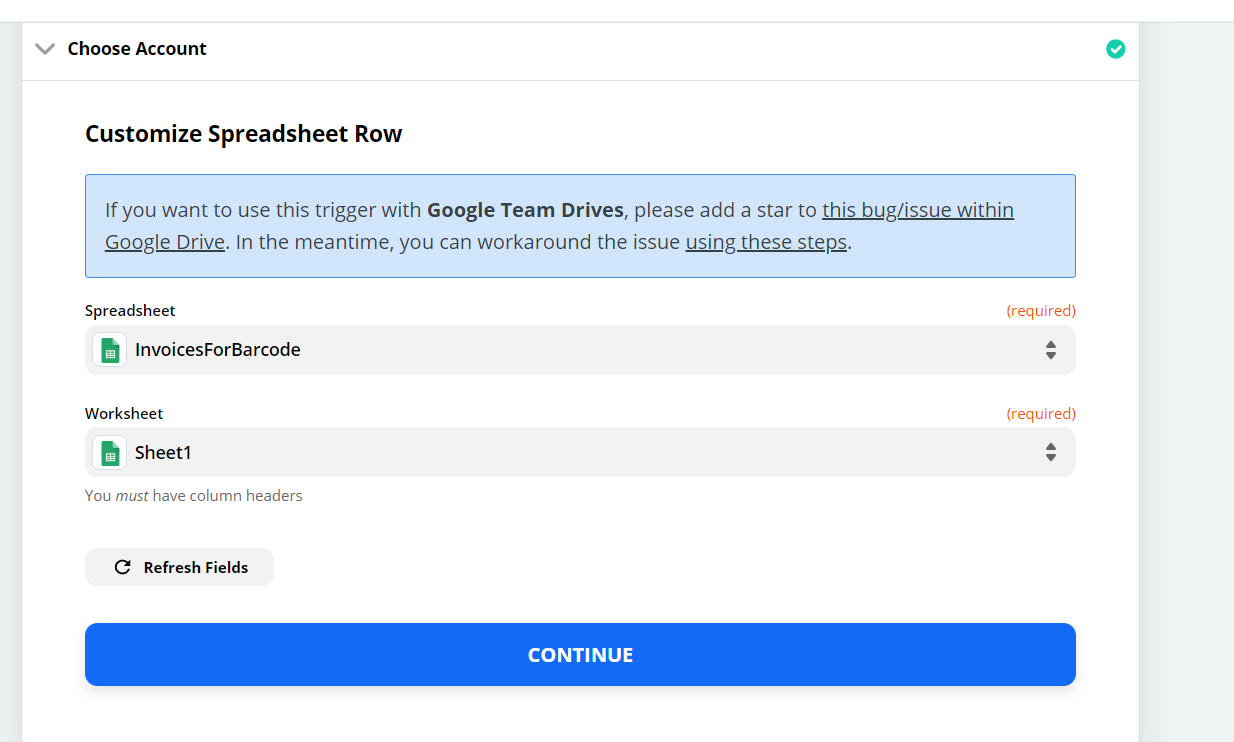
4. After Zapier is connected to "Google Sheets account:", provide source "Spreadsheet" and "Worksheet".
[Screenshot_4.png]
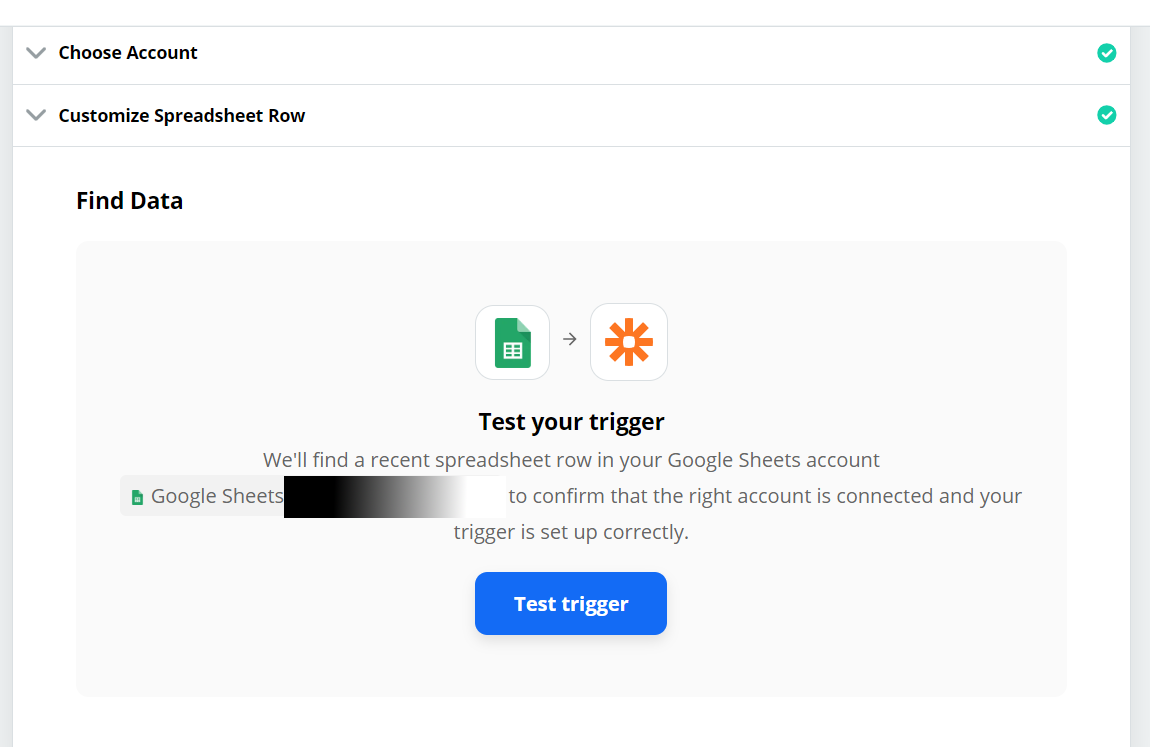
5. With all event configuration is setup for Google sheets, it's time to "Test trigger". Prior to hitting "Test trigger" button, do add new invoice row in google spreadsheet.
[Screenshot_5.png]
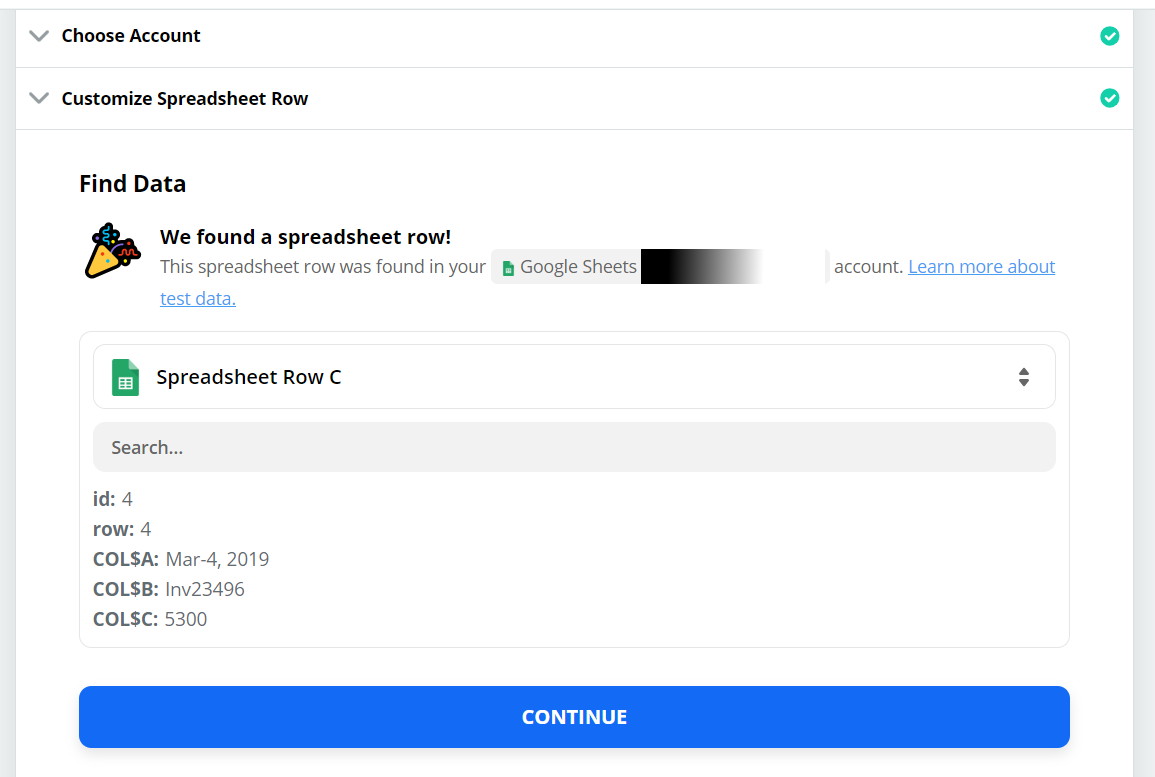
6. If we analyze result of test trigger, it is new row which was added in google spreadsheet. With this we have successfully completed first step of specifying input app and event. Now it's time to specify next event which should generate barcode.
[Screenshot_6.png]
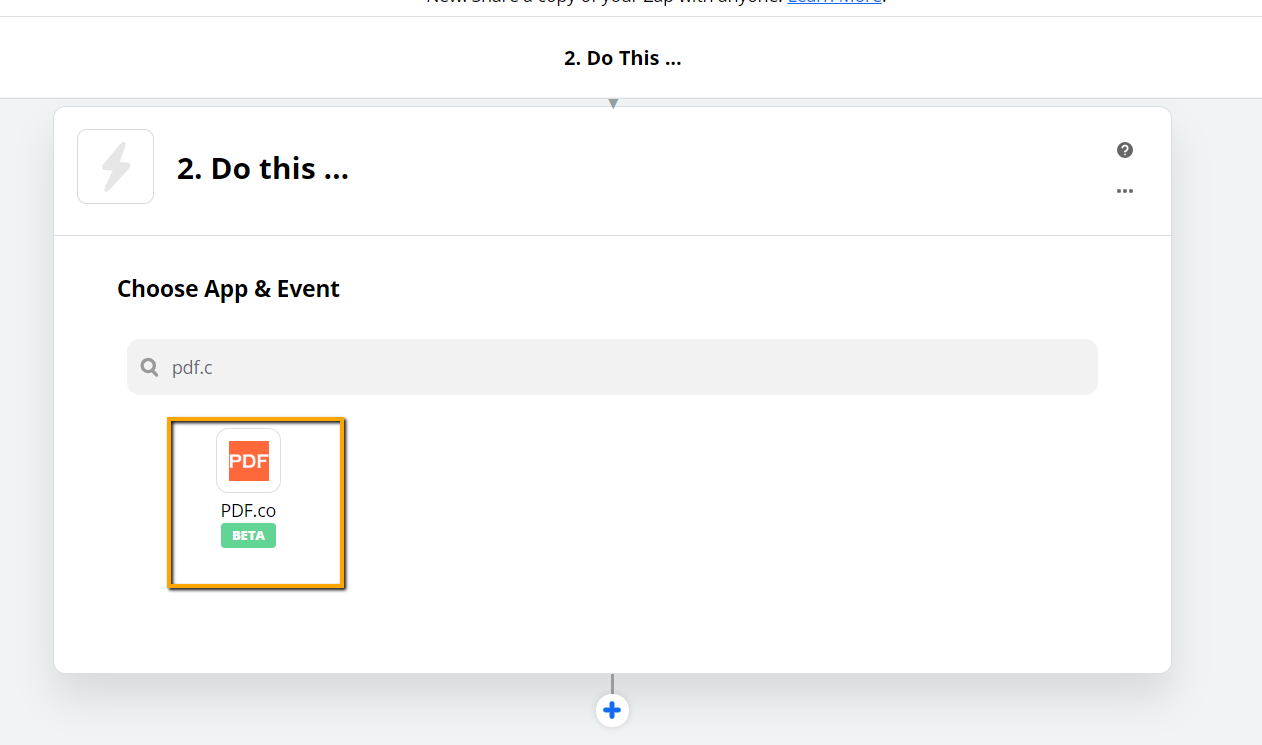
7. In this second step, we aim to generate barcode based on invoice no. To begin with, select "PDF.co" as input application.
[Screenshot_7.png]
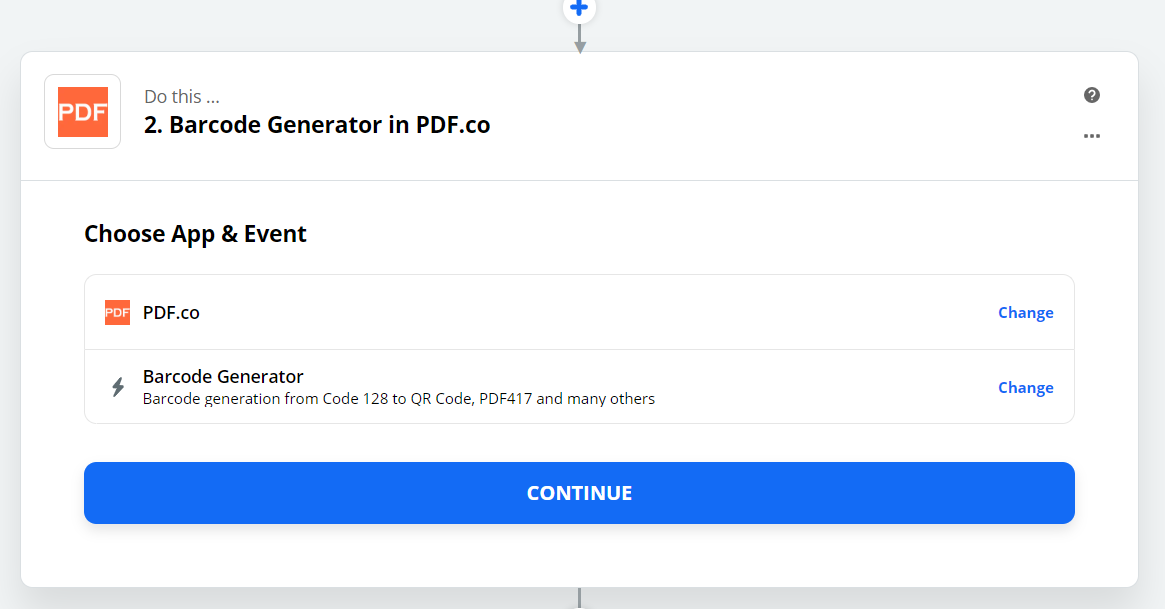
8. Specify "Barcode Generator" as event. As name suggests this event generates almost all types of barcodes.
[Screenshot_8.png]
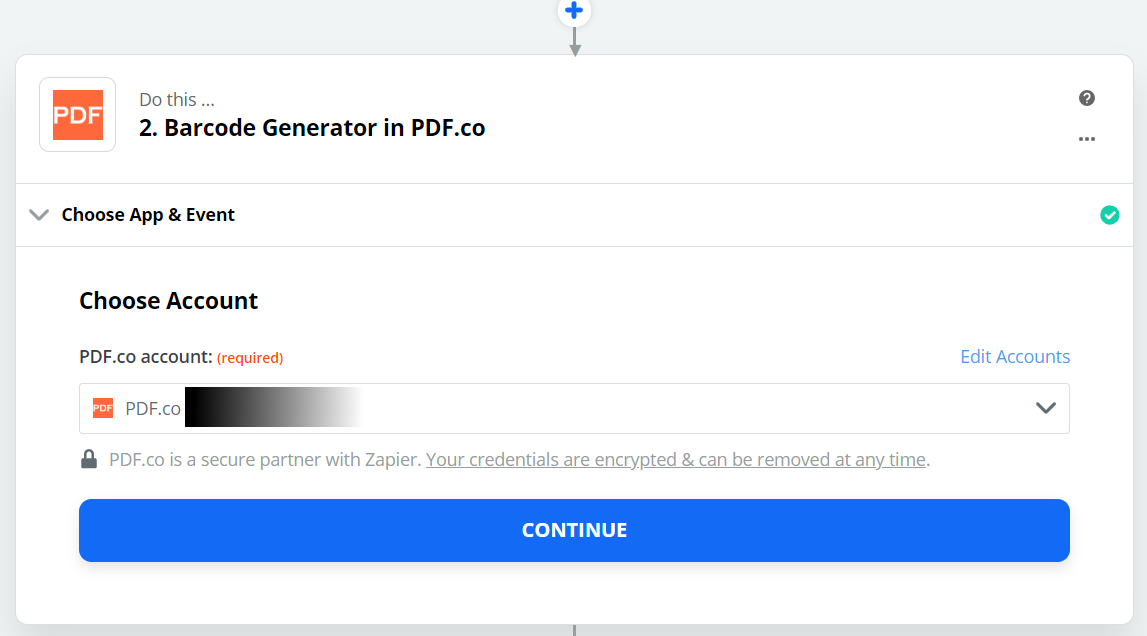
9. Configure pdf.co account.
[Screenshot_9.png]
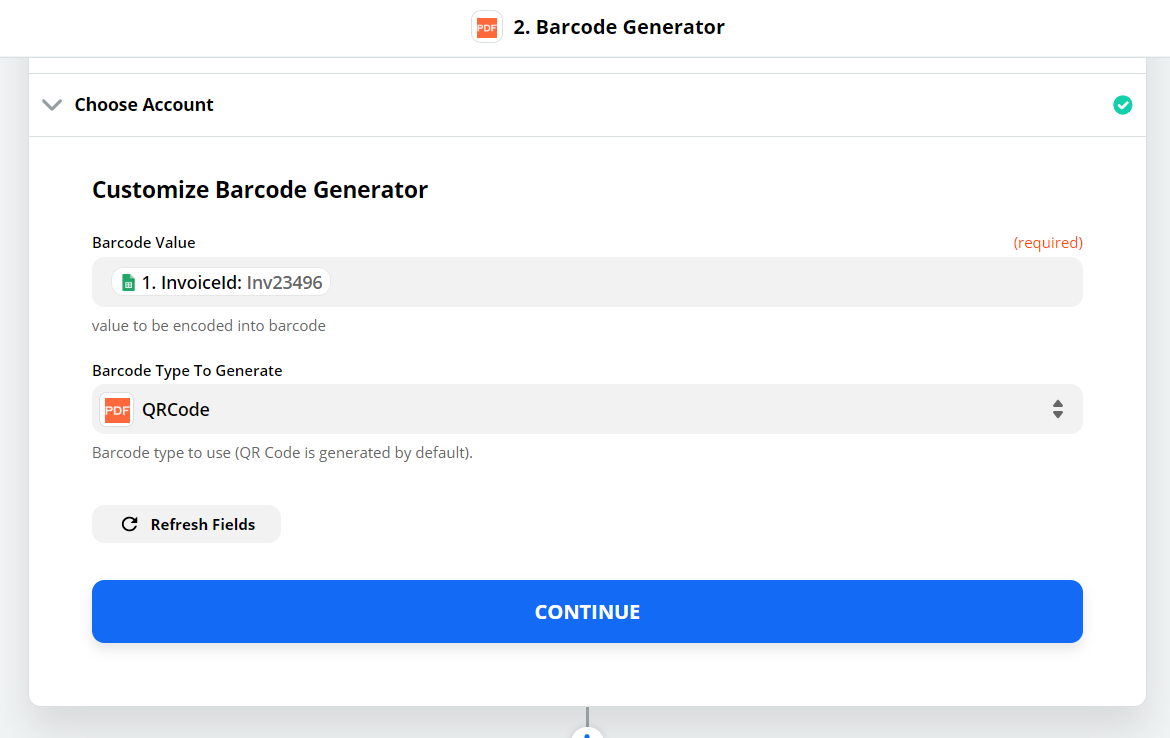
10. Specify barcode generation related fields. Barcode should be generated from invoice no as value, so in "Barcode Value" field select "InvoiceId" from spreadsheet input fields. Specify "QRCode" or any barcode type in "Barcode Type To Generate" field.
[Screenshot_10.png]
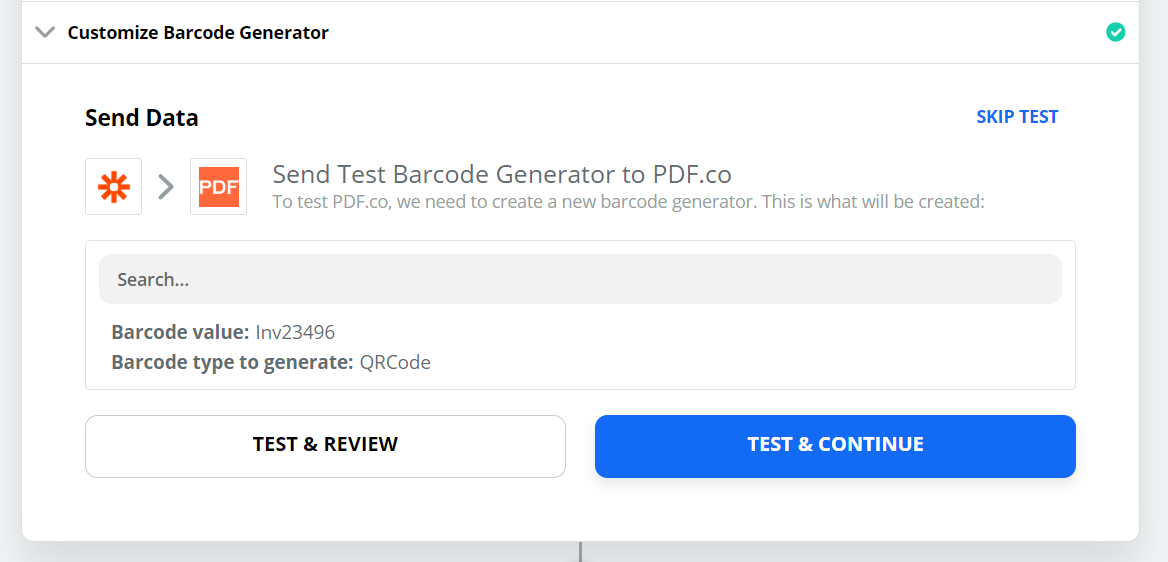
11. Now that pdf.co configuration is completed for barcode generation, it's time to "Test & Review".
[Screenshot_11.png]
12. If we analyze output received from pdf.co, it's containing generated barcode URL along with other fields such as status, remaining pdf.co credits, etc.
[Screenshot_12.png]
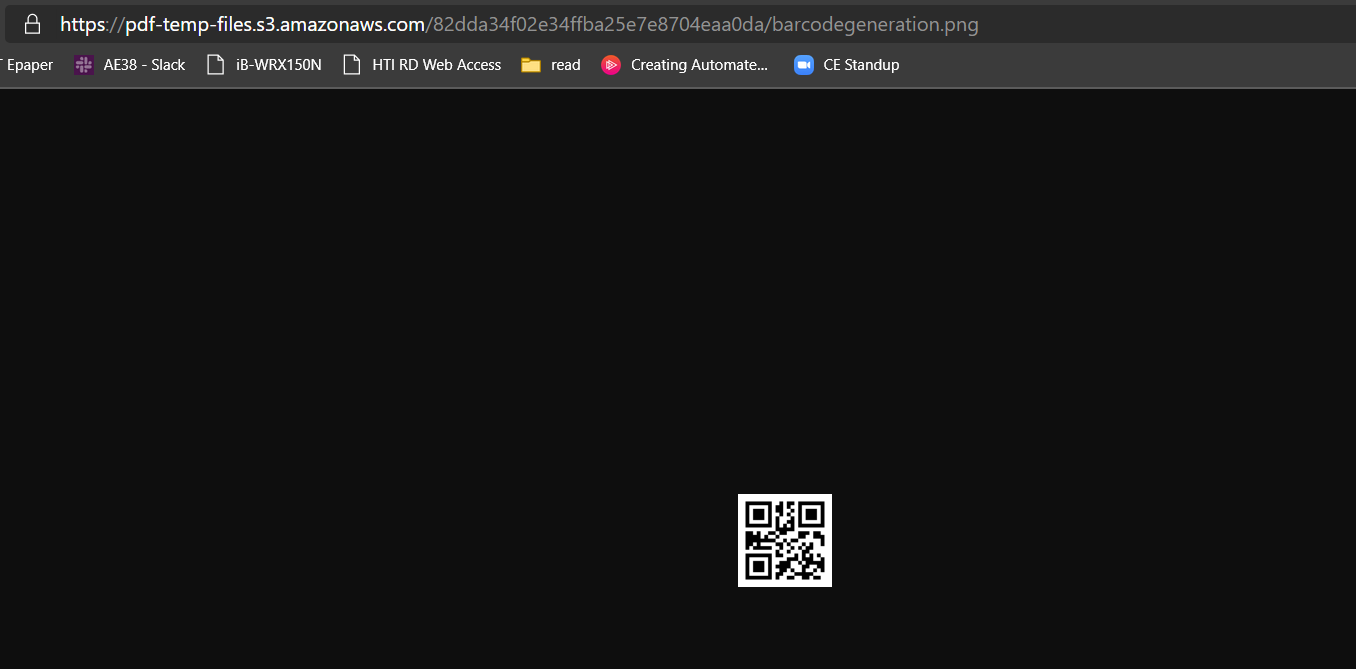
13. Upon inspecting result output URL, we can find it contains barcode of specified type. With this our process till generating barcode is completed.
[Screenshot_13.png]
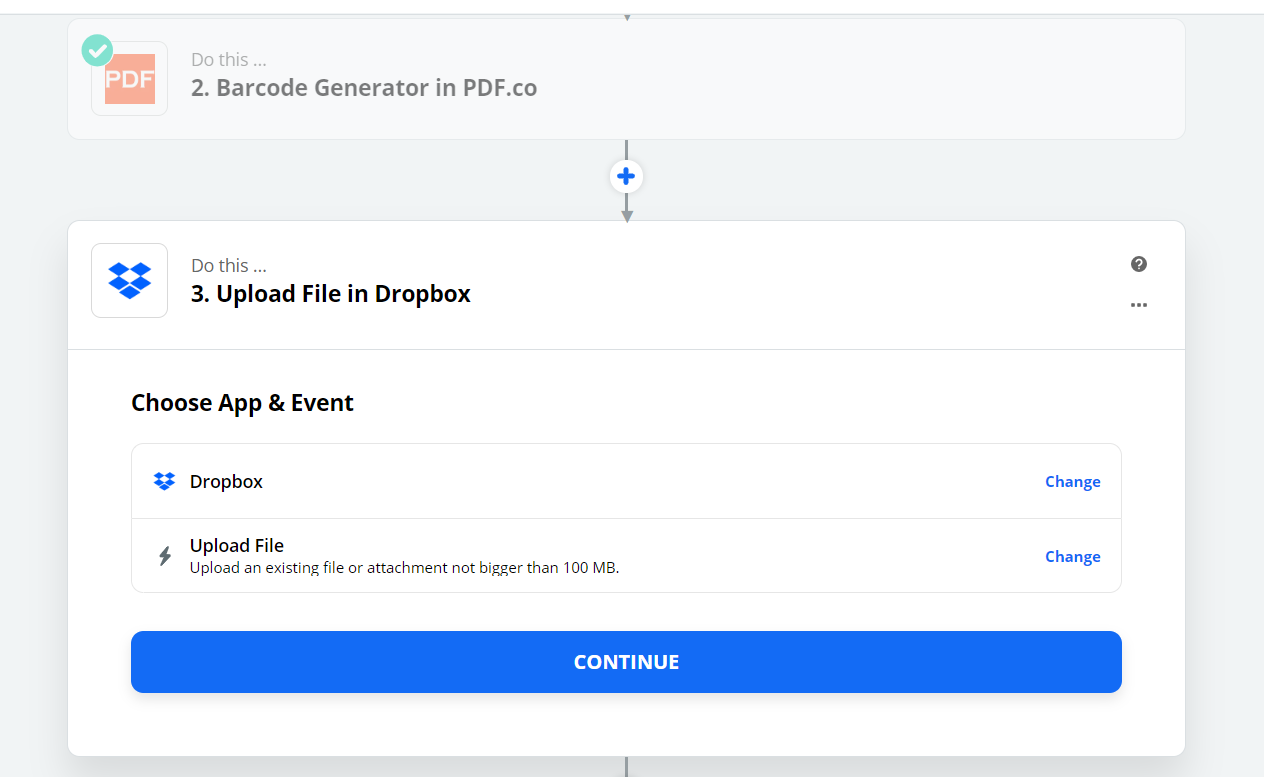
14. Now let's store this barcode value into Dropbox. In new app, select "Dropbox" as an App and choose "Upload File" as an event.
[Screenshot_14.png]
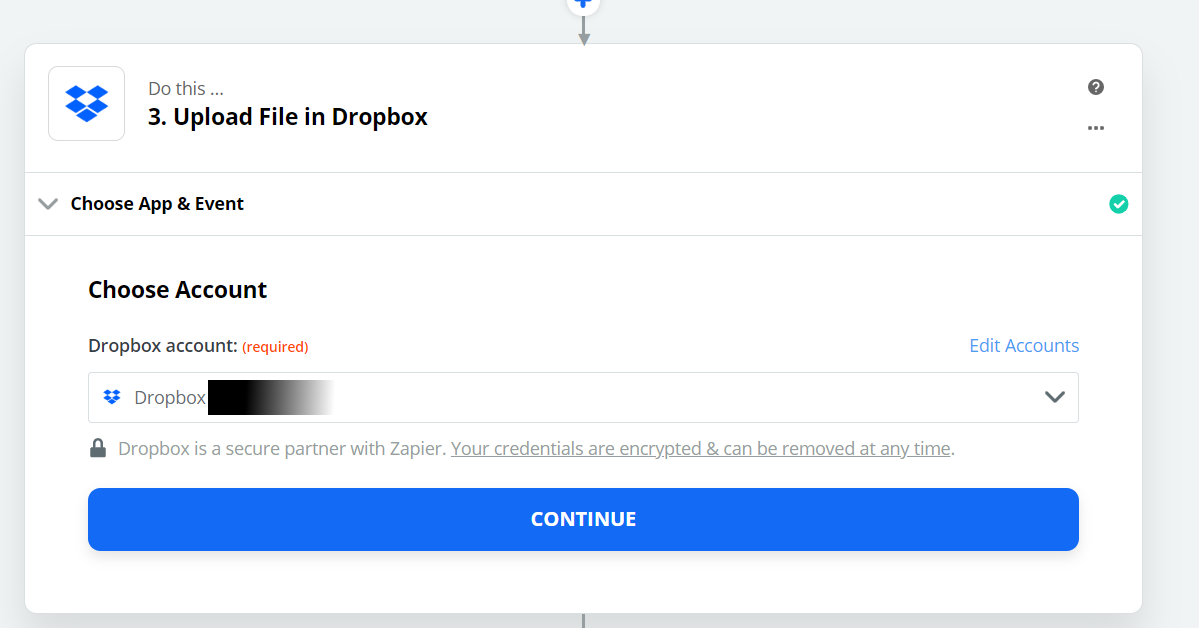
15. Specify your Dropbox account.
[Screenshot_15.png]
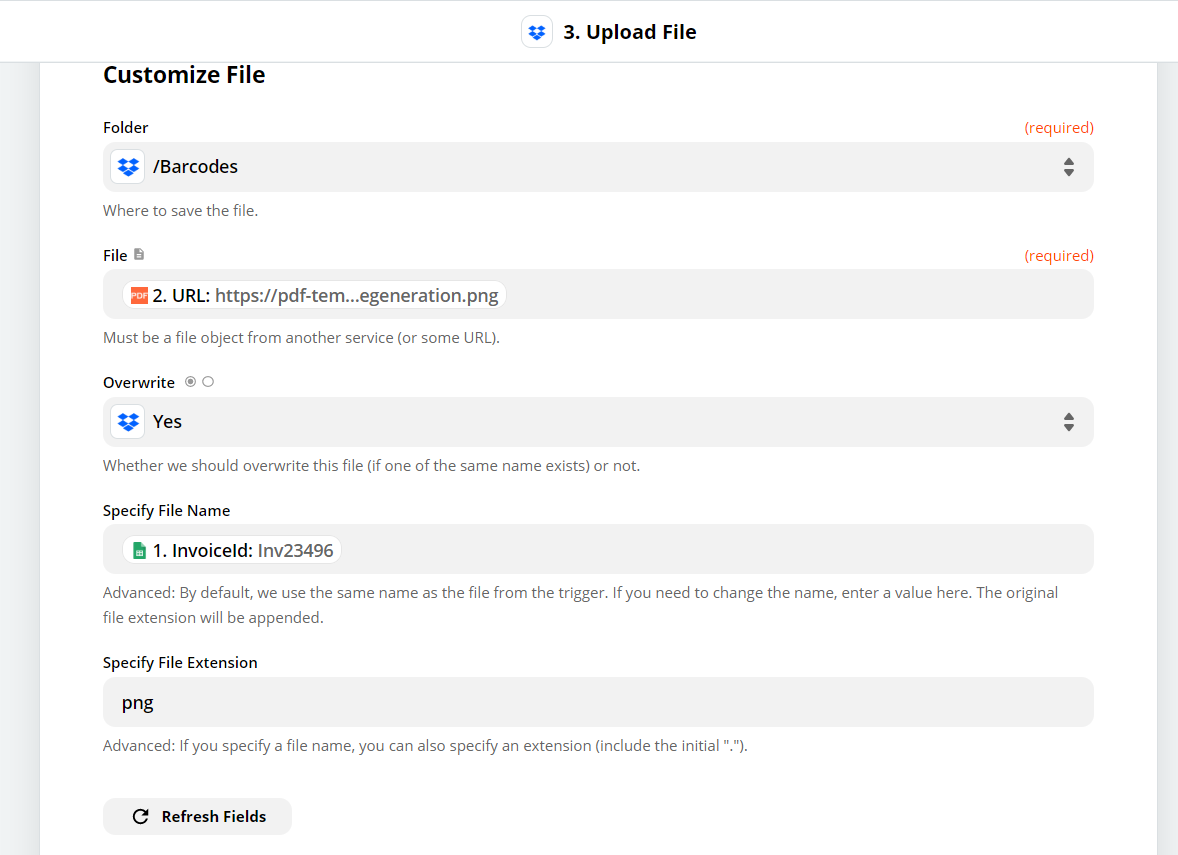
16. Configure Dropbox upload fields. In field "Folder", select Dropbox folder where new files should be created.
Field "File" represents input file URL, here specify generated barcode file URL from pdf.co.
Specify whether new file should replace existing file with same name or not in "Overwrite" field.
Field "Specify File Name" should be filled with name of target file. In this case we can select "InvoiceId" from spreadsheet.
And finally provide target file extension in "Specify File Extension" field.
With this configuration, it'll create files in Dropbox folder with "InvoiceNo.png" format.
[Screenshot_16.png]
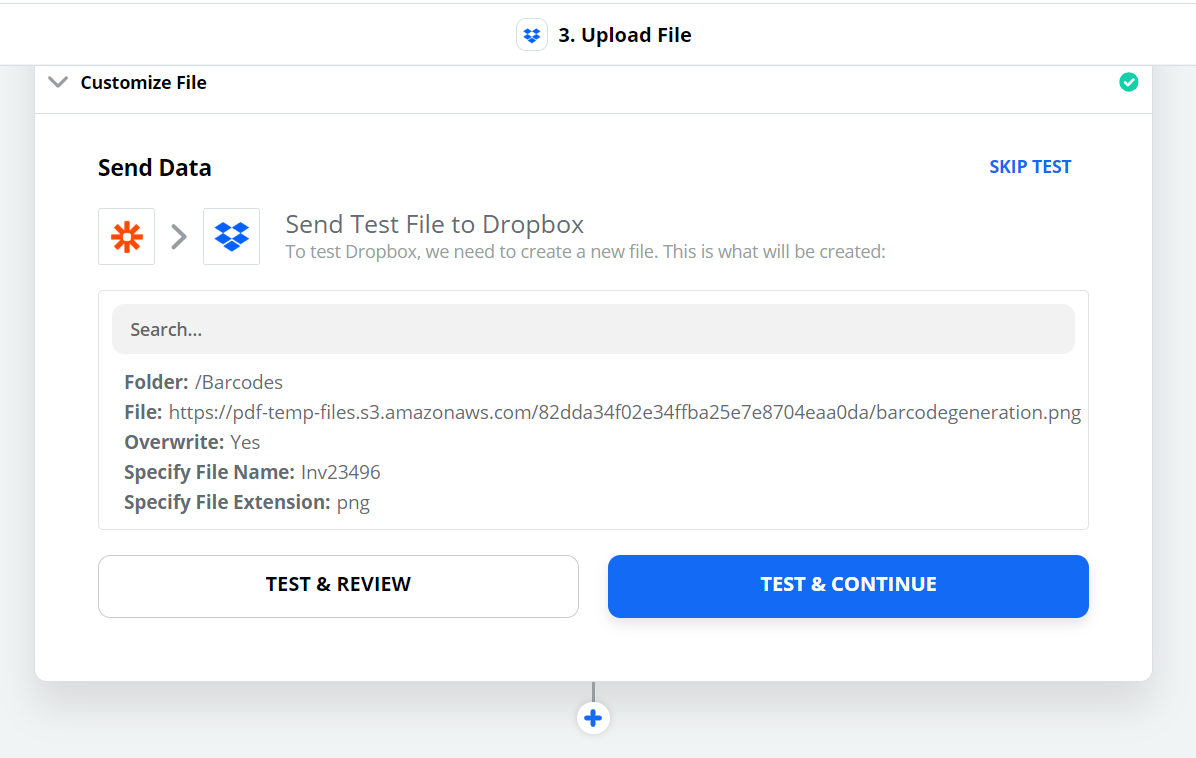
17. With all these configurations are set, it's time to "Test & Review" the output.
[Screenshot_17.png]
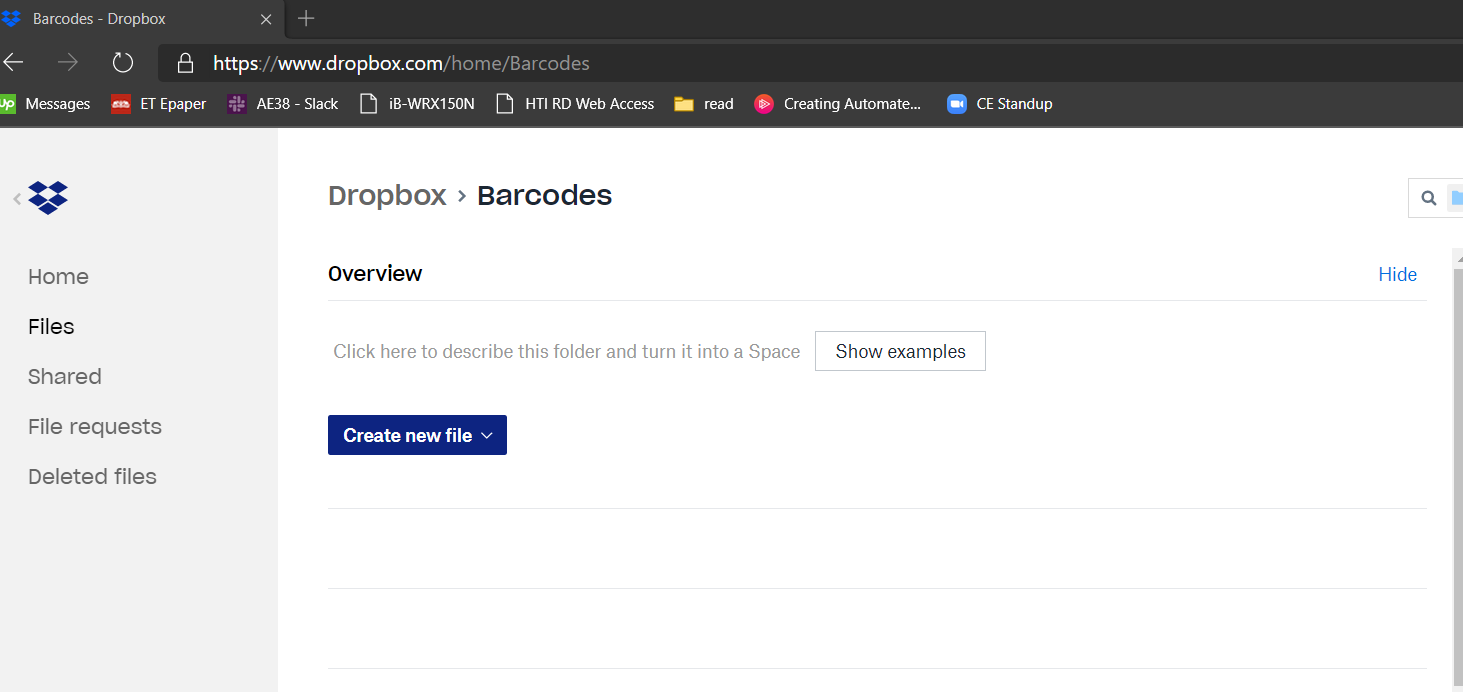
18. Here is empty Dropbox folder prior to testing.
[Screenshot_18.png]
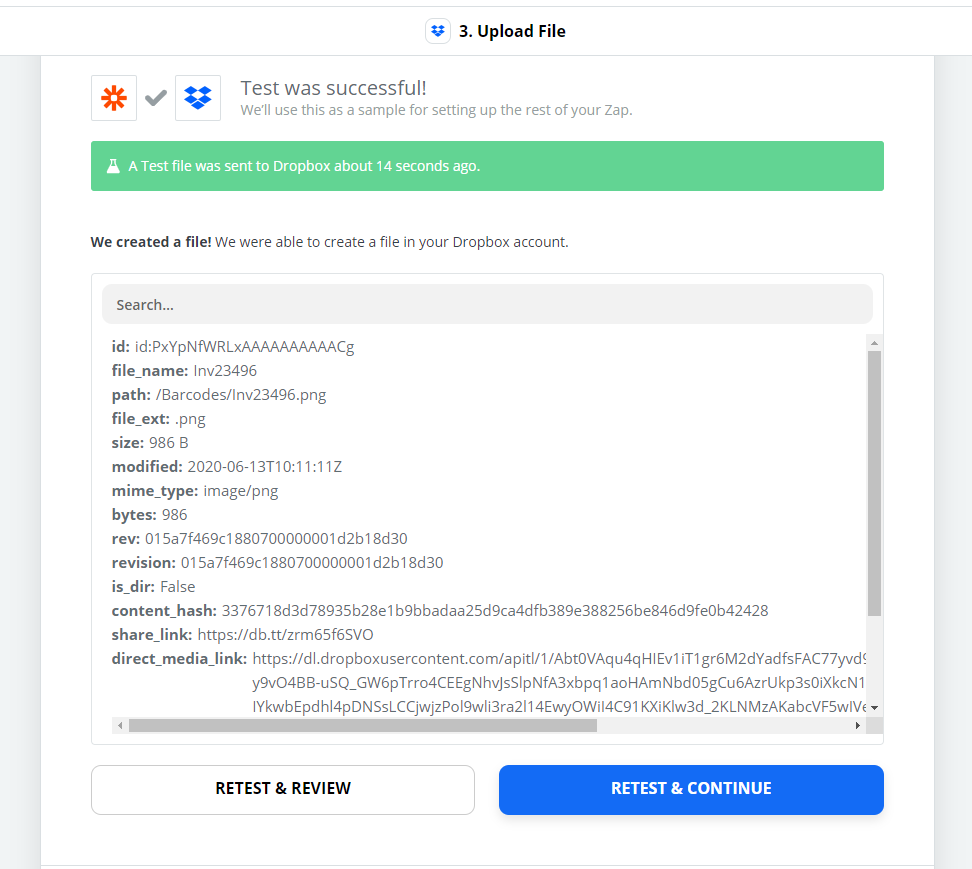
19. After "Test & Review" button is clicked, it'll perform upload file to Dropbox and show information of upload process and uploaded file.
[Screenshot_19.png]
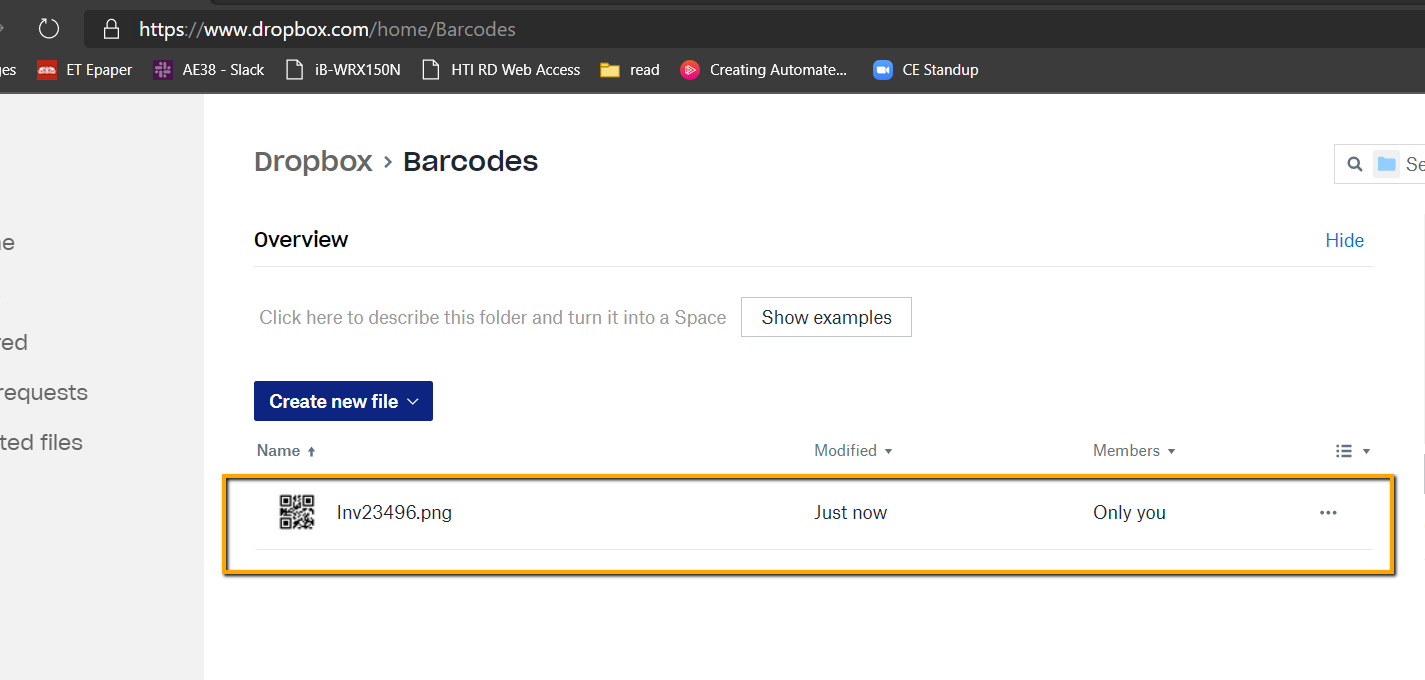
20. If we review Dropbox folder again, we'll find new barcode image file created with our configured name and extension.
[Screenshot_20.png]
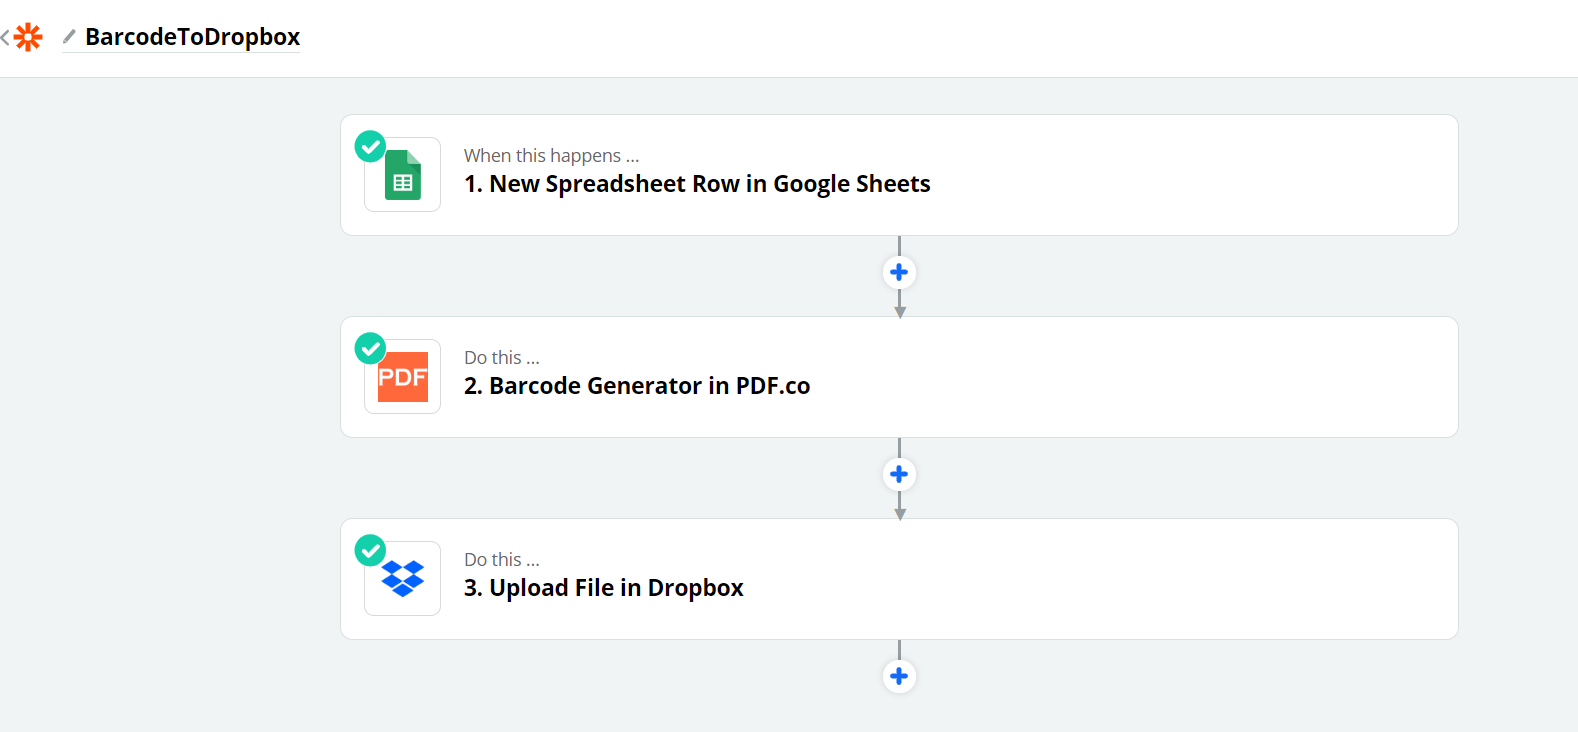
21. That's all configuration needed to generate barcode and store it into Dropbox folder. In summary, following is the all application connected are performed.
[Screenshot_21.png]